There is nothing more tedious than trying to paint a vehicle and make it look like a factory finish. In fact, I am convinced that, unless you are an auto body shop with all of the experience and equipment, it isn't going to happen.
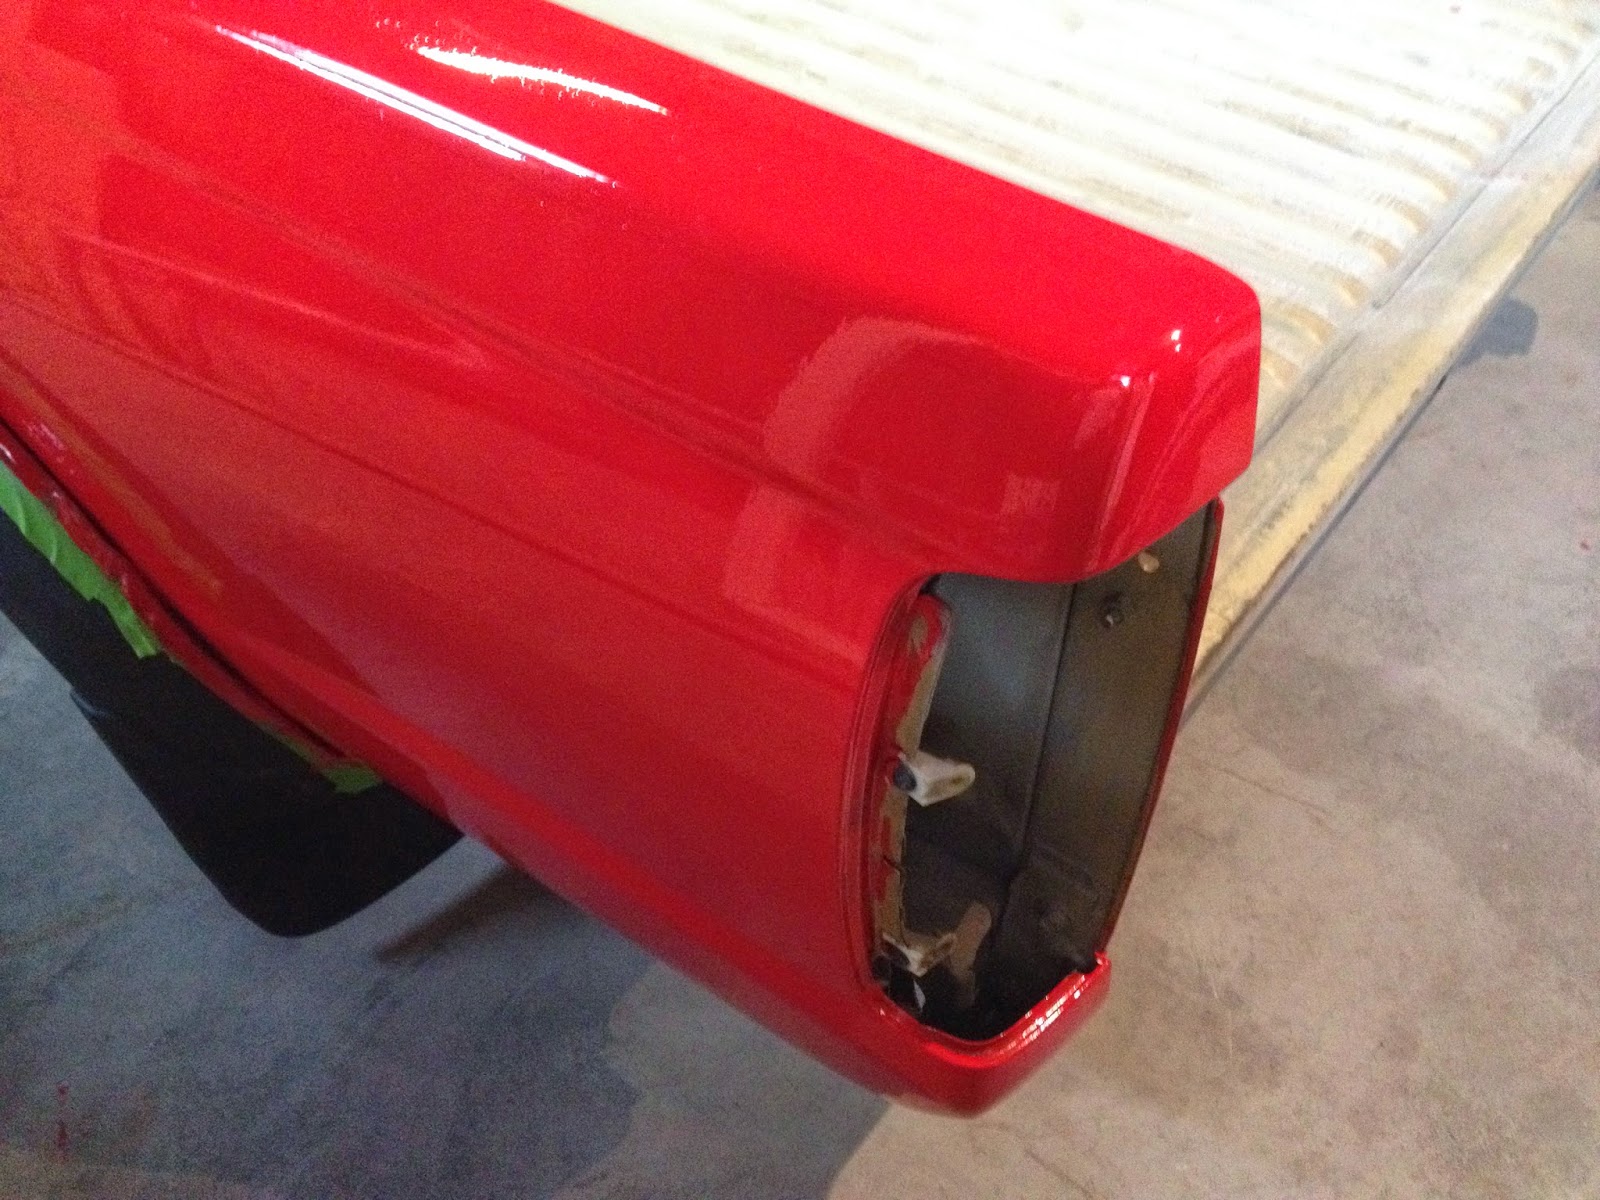
The truck IS red. At least that it true. In pictures, it looks pretty good, but up close, it is NOT a factory finish. We had an impossible time getting it to not orange peel. I hope that from the audience, it will be reasonably acceptable and not distracting.
FRIDAY
 We did all of the due prep work. Patrick and I played with Bondo for the fist time. There was some hail damage on the roof of the cab, and a significant crease in the tailgate as well as a serious abrasion on the plate around the handle. After pricing a replacement plate, and a tailgate, we decided that the best way to go was Bondo and prayer.
  Patrick cut an opening on the inside of the tailgate and popped the crease out as best as he could. We drilled a few holes in the bottom of the crease so that the Bondo would seep through and have something to hold on to.
We hit the plastic plate with the disc sander to smooth down the abrasion. Then mixed about a tennis ball amount of Bondo and worked it in. That shit sets up FAST. 30 minutes later, we ground it down with the sander and applied a second coat. 30 minutes after that, we finish sanded it and applied some primer.
We sanded every square inch of gold paint with the sander to make sure that there was no trace of wax, oil or tar. It also gave a good tooth for the the new paint to grab. Final task was to spot prime any bare metal and let it dry overnight.
SATURDAY
I cleaned as much dust out of the shop as I could and then began wet sanding all of the surfaces using the finest foam sanding block that I could get. After wiping it down, it was exceptionally smooth. I think we did the prep work quite well.
A photographer from the Belleville News Democrat came by a little before 10 AM to take some "action shots" for an upcoming article, but there was no action going on, so he left and said that he'd be back at 1PM.
 We let it dry while we got ready to paint coat #1. Two foam brushes, two 4" foam rollers and two plastic hand-held paint trays...we mixed as little thinner into the quart of bright red paint and began. The first coat took about 2 hours to apply. We wrapped up right at 1 PM...no photographer.
We stood and watched the paint dry for about 45 minutes before the photographer finally arrived. So, we had to make up some "work" for him to take pictures of. We pulled out the gallon of black and started painting some of the exposed wood framework. That was good enough for his pix.
After he was done and gone, we cleaned up and left it to dry. That paint takes about 12 hours to dry for re-coating.
SUNDAY
Kathleen and I headed to the shop about 10 AM. Patrick and Melanie were not able to be there before 11 AM, so we thought that we would get a jump-start on the second coat.
 We wet sanded all of the red surfaces, knocking off the few spots of dust that had landed in the finish. Patrick and Melanie hadn't arrived yet, so we continued painting all of the exposed wood frame black. Still no Pat and Mel, so we dove in and applied the second coat, same way as the first. Second coat took a little over an hour. We finished just as Melanie arrived. Headed home around 2 PM.
 Some areas of the finish look really good, even up close. Some areas I am just not happy with. I have about 1/3 of a quart of paint left. My plan is to sand and re-coat the passenger door and rear fender on Monday evening. Hope that third time is the charm...
Wednesday evening, we will pull the tape, reassemble the pieces that we took off, and polish things up. We need to cut and fit the new Lexan windshield and then work out mounting the wheels. I hope that when we leave Wednesday evening, we have what looks like a finished truck!
R
No comments:
Post a Comment